I can’t paint, I can’t draw, but one thing I can do is makeup. To me, my face is like my own personal canvas, and I could spend hours trying out different blush techniques, contouring hacks and eyebrow shapes. When I was younger, I’d spend hours watching YouTube tutorials and recreating the makeup artist’s every step. However, thanks to my job, these days I am lucky enough to chat to these makeup artists face to face and ask them for all of their tips and tricks.
One thing I am always keen to learn more about is how to apply eyeshadow. There are so many different eyeshadow looks out there, but they can definitely be a little bit tricker to recreate at home. Not only that, but with everything from powder eyeshadows, cream eyeshadows and eyeshadow pencils available, it can be hard to know what to actually buy in order to get your desired look.
So, I decided to reach out to London-based makeup artist, Aimée Twist, to get all of her advice on how to apply eyeshadow and get it to last all day long. After speaking to Twist, I realised that I’d been applying my eyeshadow all wrong (so much for being able to do makeup!), so keep on scrolling for everything you need to know…
How to Apply Eyeshadow, According to an Expert
“All eyeshadow looks are prepped and executed differently, as there are so many different looks and eyeshadow formulas out there,” explains Twist. “It can be as easy as using a cream eyeshadow and blending with your fingers, or more complicated where you might be using multiple shadows and brushes. If you are starting to experiment with multiple colour eyeshadow looks, I would say you need at least three brushes to complete this, a flat brush and two blending brushes.” Check out Twist‘s step-by-step guide to a multiple colour eyeshadow look below.
Step 1: Prep the Eyelid
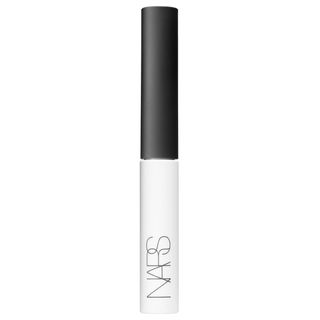
“To complete this look, begin by prepping the eyes with a shadow primer of choice,” says Twist. Eyeshadow primers are great as they create the perfect base for your makeup and help your eyeshadow to last all day.
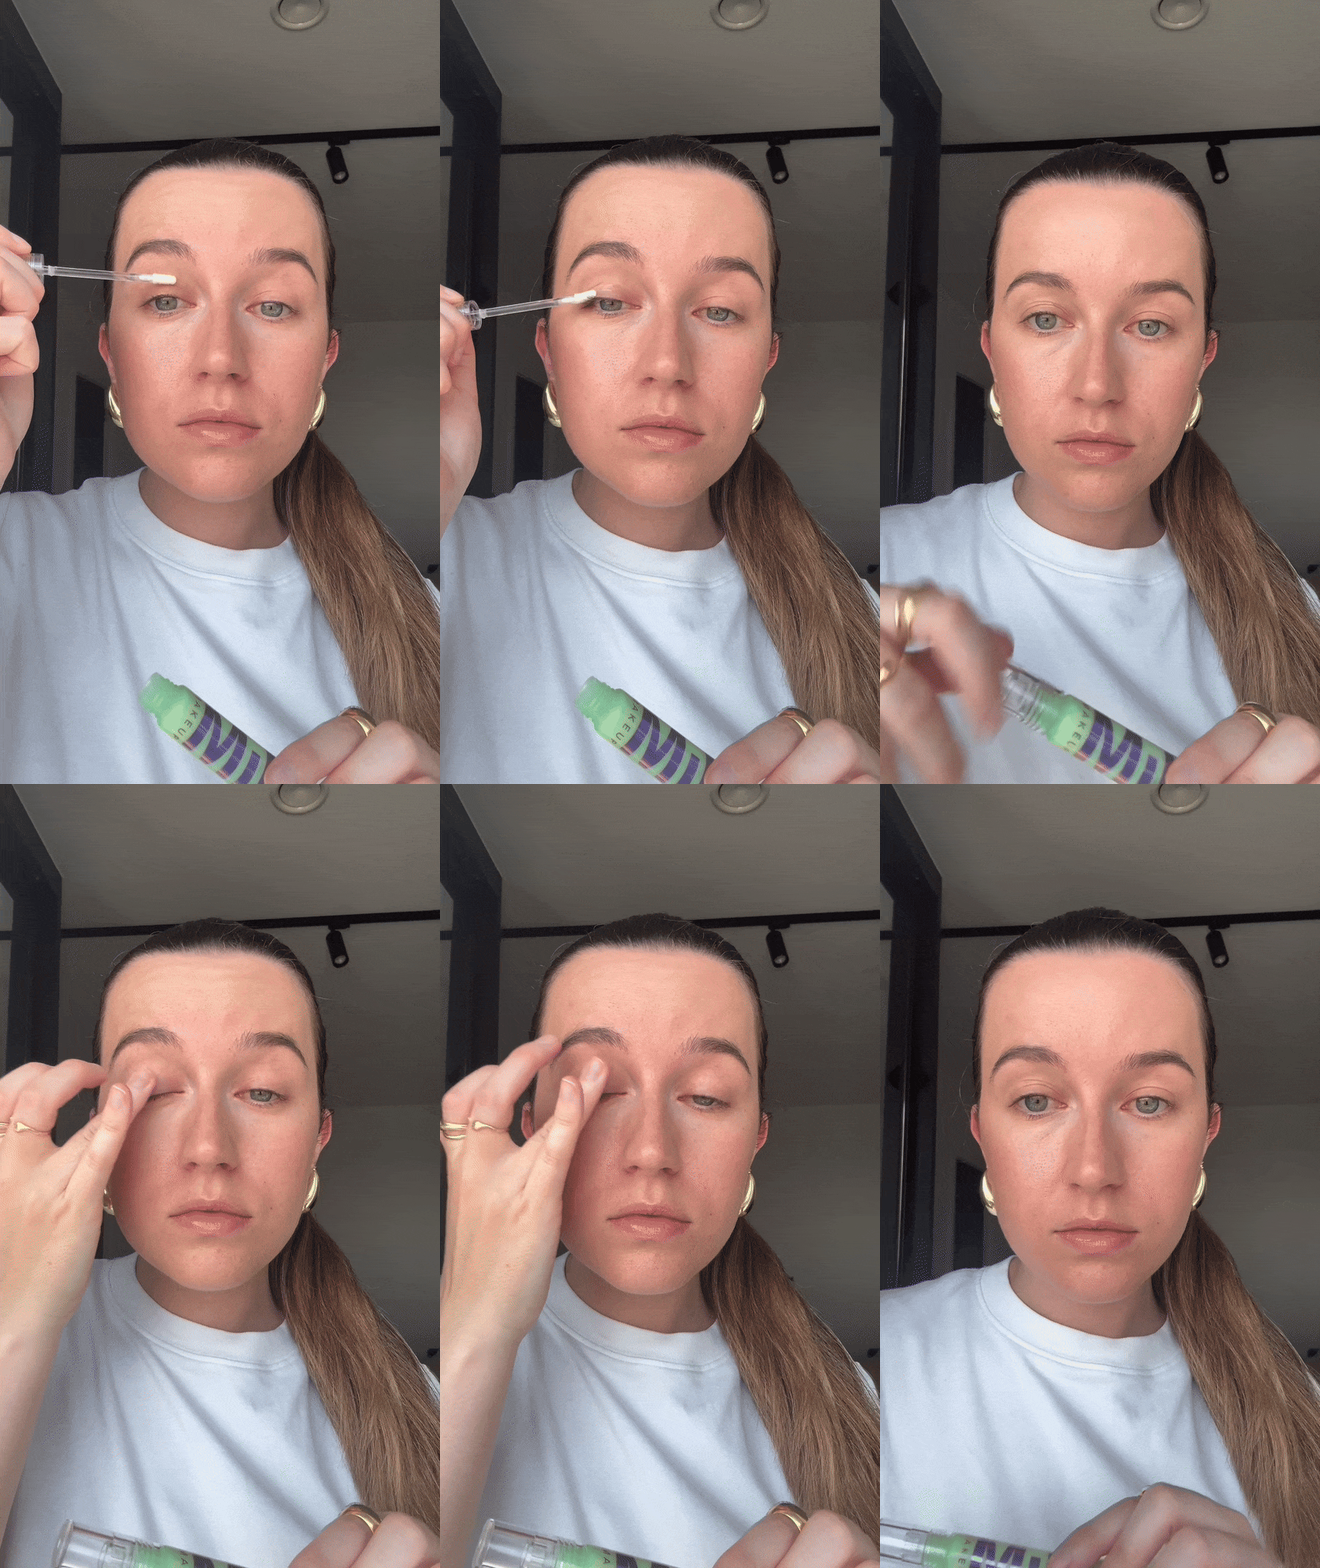
Step 2: Apply Lightest Eyeshadow
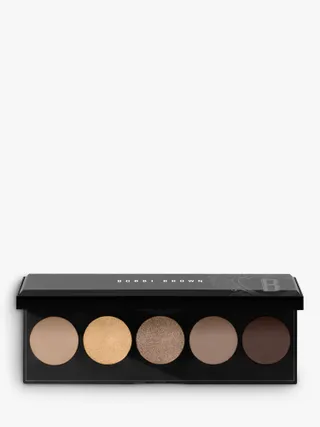
Next, Twist says to take a flat brush and lay down your lightest colour all over the lid. It’s always better to start with your lightest eyeshadow colour first as these shadows are easier to blend.
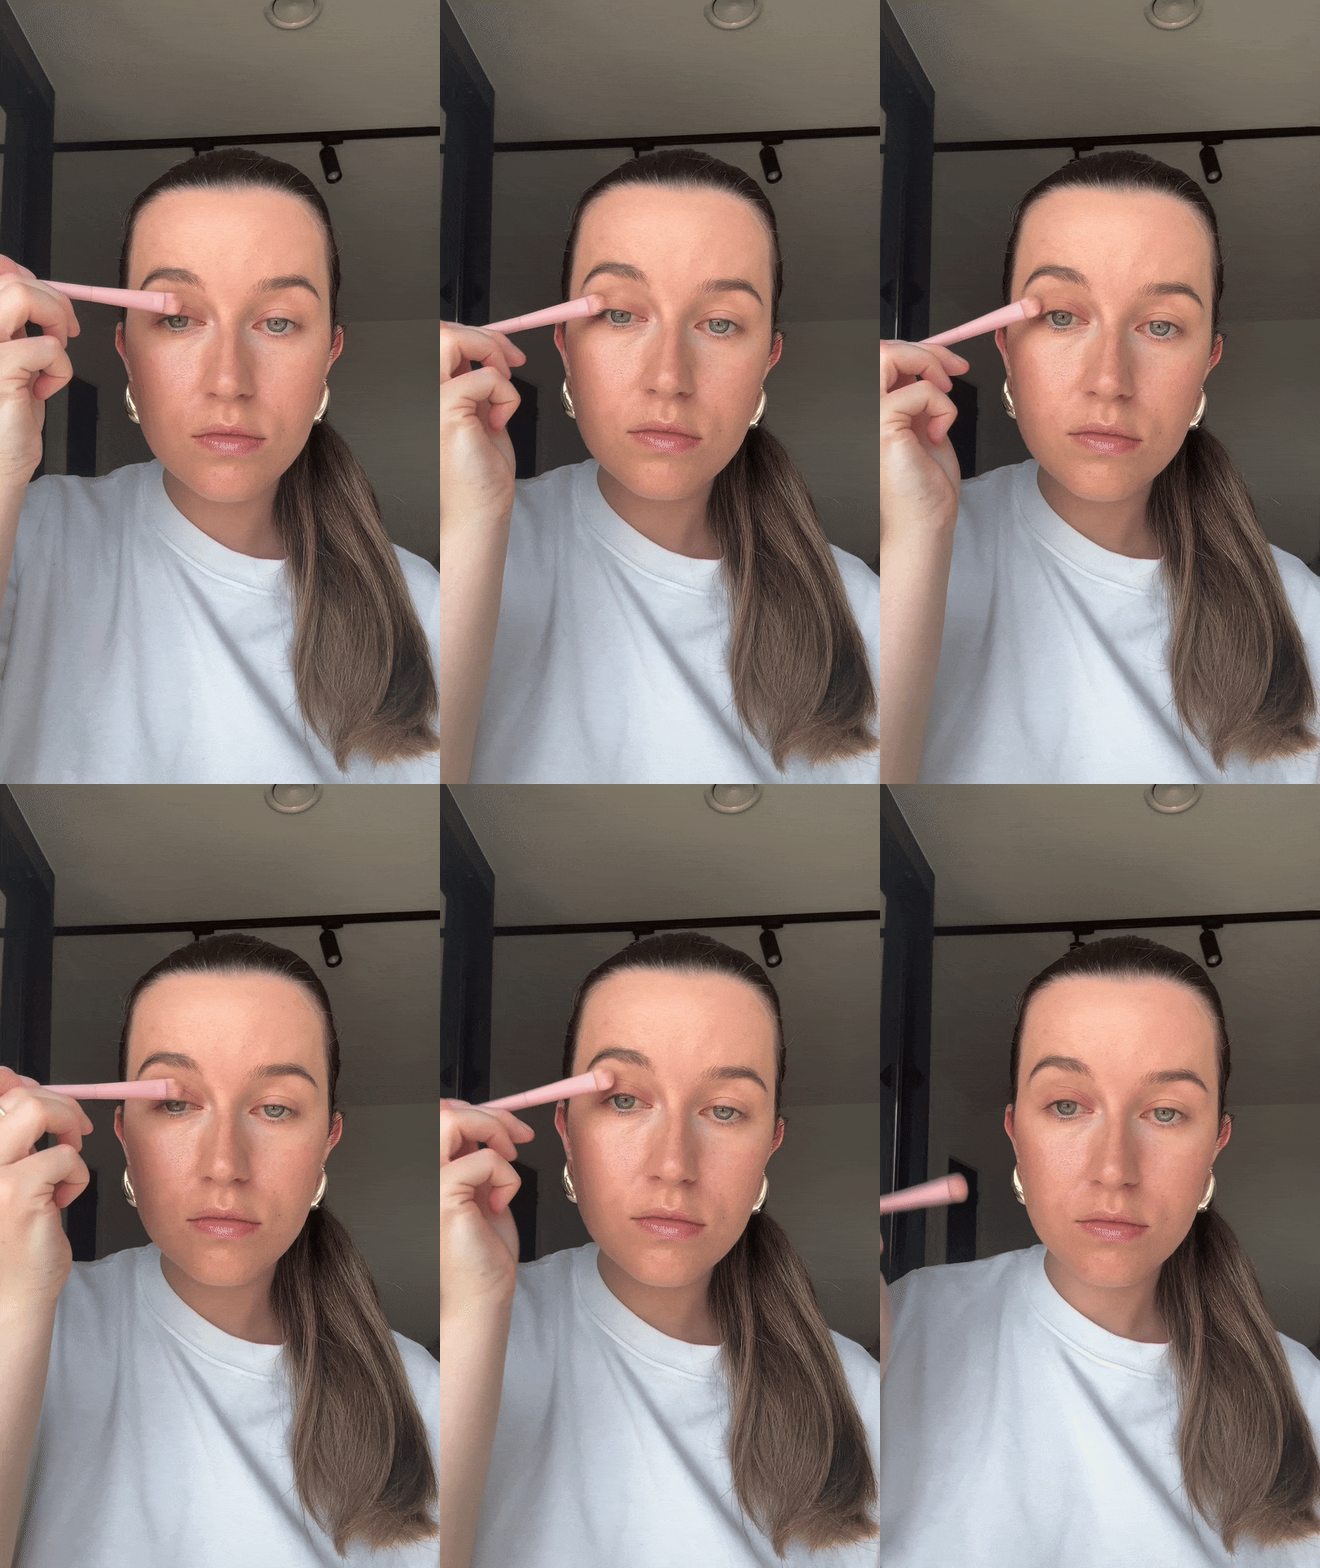
Step 3: Apply Medium Eyeshadow
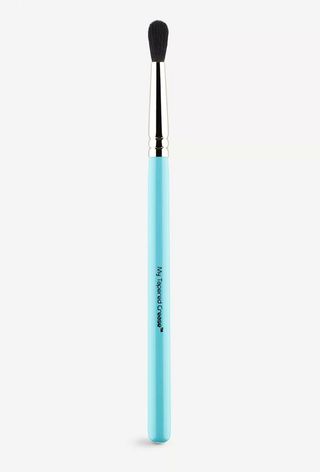
“Then, take your biggest blending brush and your medium colour and blend this from the outer corner through the crease of your eye to the inner corner,” says Twist. “This will allow the most colour to be deposited in the outer eye.”
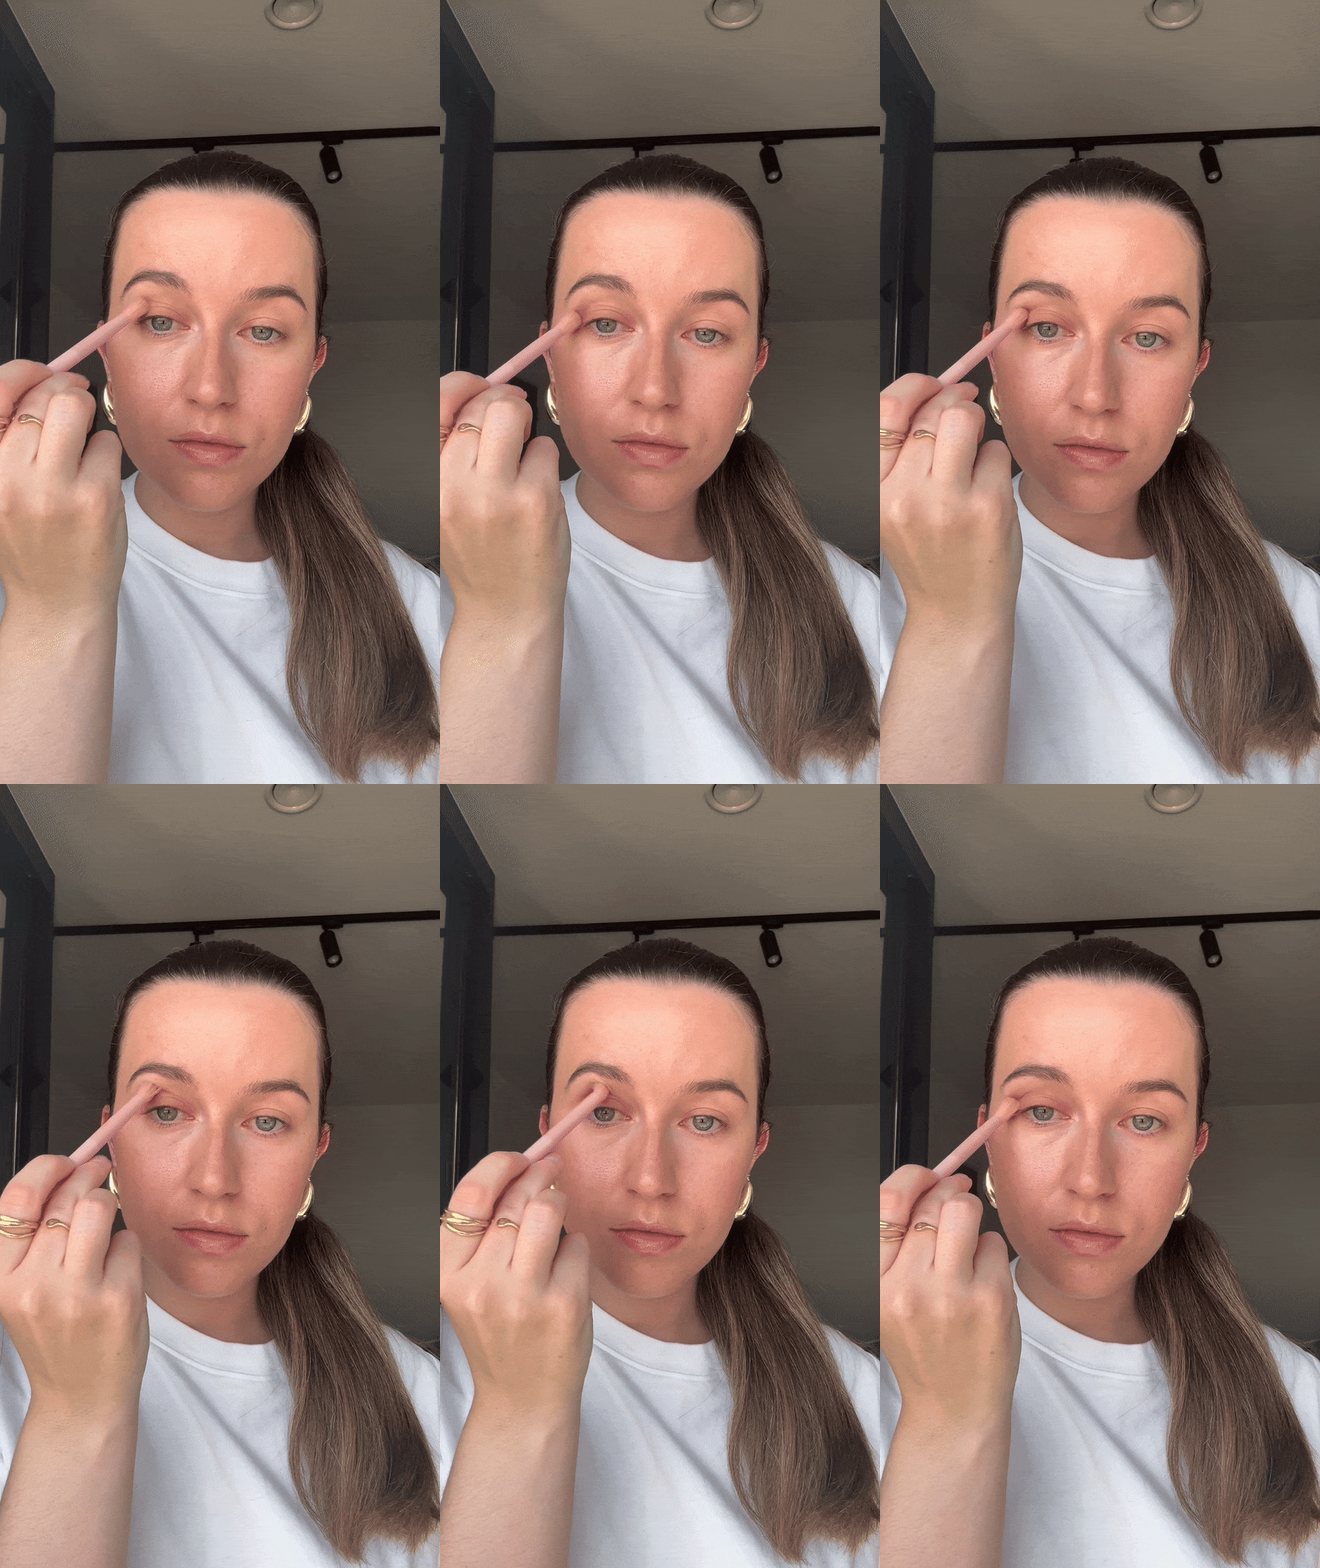
Step 4: Repeat
You can repeat this process until you get your desired payoff from this colour.
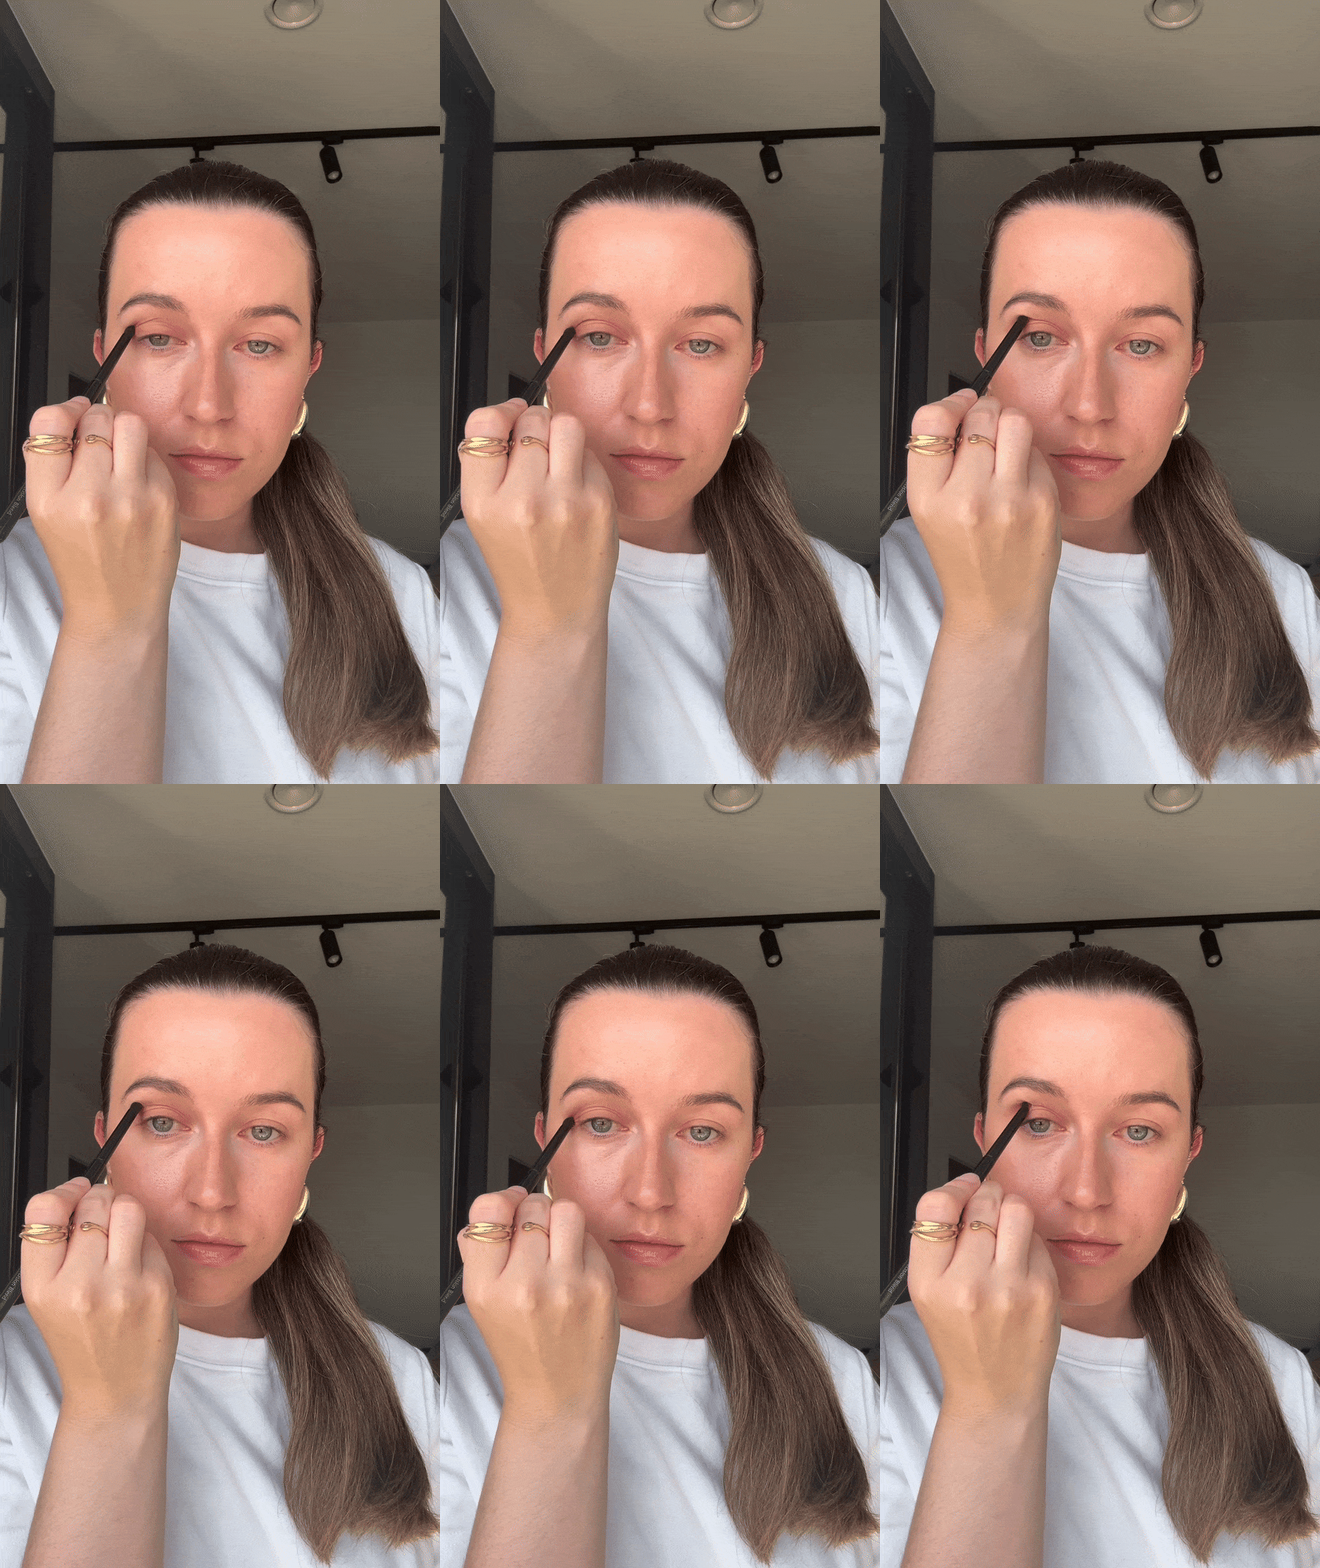
Step 5: Apply Darkest Eyeshadow
“Finally, take your darkest colour and your smaller blending brush and follow the same step as before. You should get a more concentrated deposit for colour from using the smaller brush,” explains Twist. “If you find the colour looks a bit too much or not blended enough, take the bigger brush, without picking up anymore colour and use it to blend the hard edges. You can again repeat this process until you achieve the desired look.”
Step 6: Apply Shimmer
This final step is totally optional, but if you want, Twist says you can take a pop of shimmer on your finger and place it in the centre of the lid for a bit of sparkle.
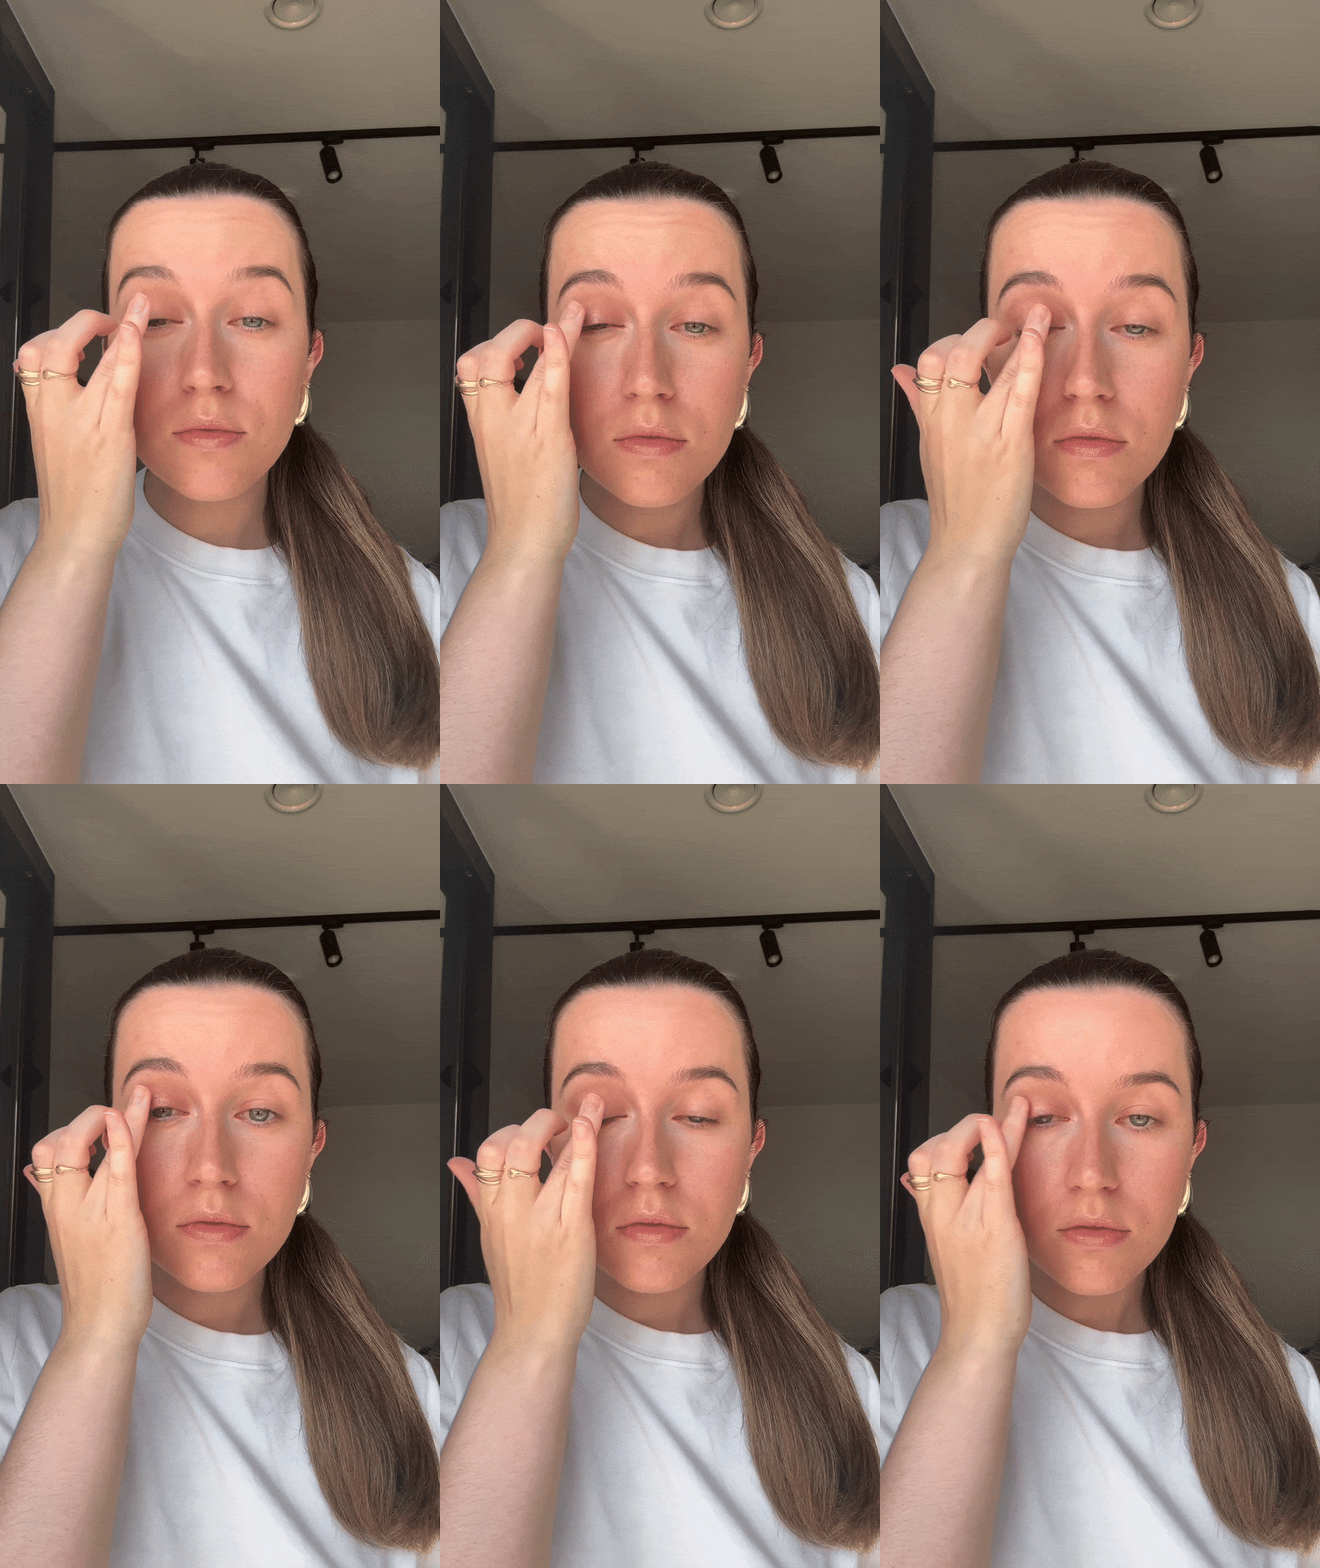
How Can You Make Your Eyeshadow Last?
One thing I always struggle with is making my eyeshadow last all day. However, Twist has a great tip. “I would recommend investing in a good eyeshadow primer, as this will prevent the natural oils coming through and breaking down the eyeshadow throughout the day,” she tells me. “There are a lot on the market now and you can choose yours based on your preference, some are clear which usually have the best hold for oily eyelids, some work like a concealer and reduce the pigment on your eye and then some are like a cream colour base.”
“I personally like to use an eyeshadow base with a colour pigment (such as the Mac Pro Longwear Paint Pot) as this will actually make the eyeshadows on top pop more and allow you to use less product overall, making blending time quicker and easier.”
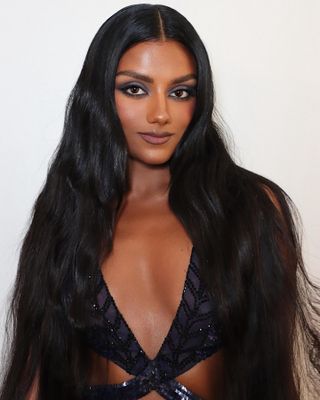
Is It Best to Apply Eyeshadow With a Brush or Your Fingers?
Whenever I watch makeup videos, I see some makeup artists using brushes to apply eyeshadow, while others prefer to use their fingers. So, I was keen to know which method is actually best. “I love both equally and for different reasons,” says Twist. “When working with matte eyeshadows, brushes are your best friend, as this will give you a more seamless blend (they can go a bit patchy if blended with fingers). However, shimmers get the best effect [when using your] fingers, as the natural oils on your fingers will give you the best payoff. I also like to use my fingers to change the way eyeshadow appears on the skin. [For example], if I feel that the eyeshadow looks too intense or overdone, I will go in and blend with my fingers to make the shadow look more soft and lived-in.”
So there you have it. Everything you need to know about applying eyeshadow that will actually last. If you’re keen to give a more complicated eyeshadow look a go, check out my essentials below.
Products You Need for a Seamless Eyeshadow Look
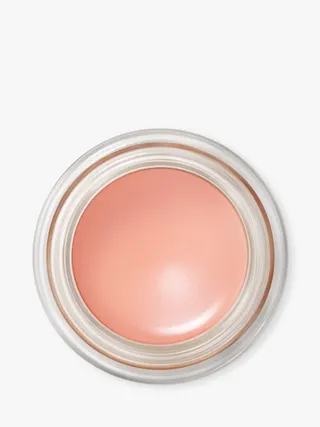
Mac
Pro Longwear Paint Pot
This cream eyeshadow from Mac works as a great base for your eye makeup look.
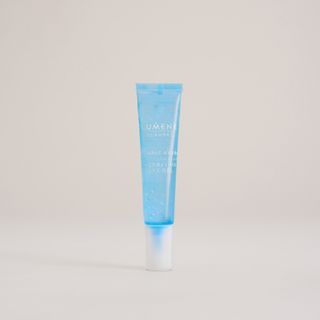
Lumene
Purity Dew Drops Hydrating Eye Gel
Ok, so this might not be to do with eyeshadow, but making sure the skin around your eyes is hydrated means that you will have a much better base for your makeup.
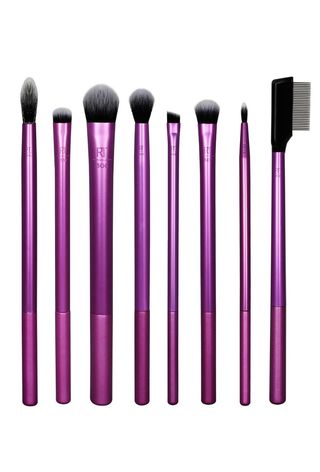
Real Techniques
Everyday Eye Essentials
Real Techniques brushes are some of the best, and this set has everything you need for a range of eyeshadow looks.

Charlotte Tilbury
Eye Blender Brush
Blending is key when it comes to a good eyeshadow look, so invest in a good blending brush.
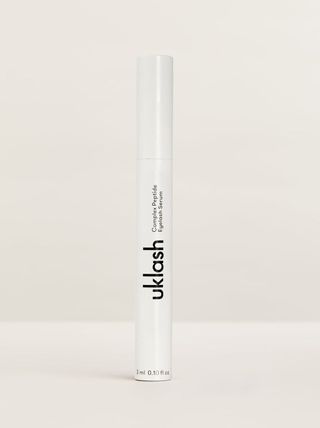
UKLASH
Complex Peptide Eyelash Serum
Again, I know this isn’t exactly to do with eyeshadow, but having long, strong eyelashes always helps to bring a look together.
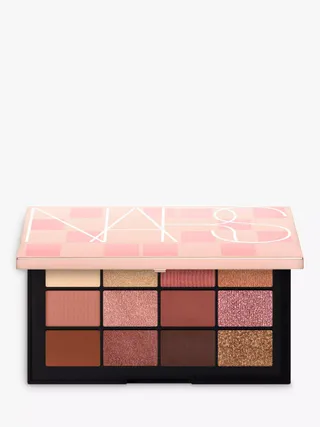
Nars
Afterglow Irresistible Eyeshadow Palette
Want to have fun with warm colours and textures this autumn? Nars has got you covered.
Aimée Twist
Aimée Twist is a London-based makeup artist. Her work has been featured in the likes of British Vogue, Elle, Sunday Times Style and Harper’s Bazaar, and she has worked with a range of celebrities including Suki Waterhouse, Mia Regan and Ashley Roberts.
